
1.
Click on the Apple logo at the top left of your screen. Select "System Settings".
2.
Scroll down to "Printers and Scanners". Select "Add Printer, Scanner, or Fax...".
3.
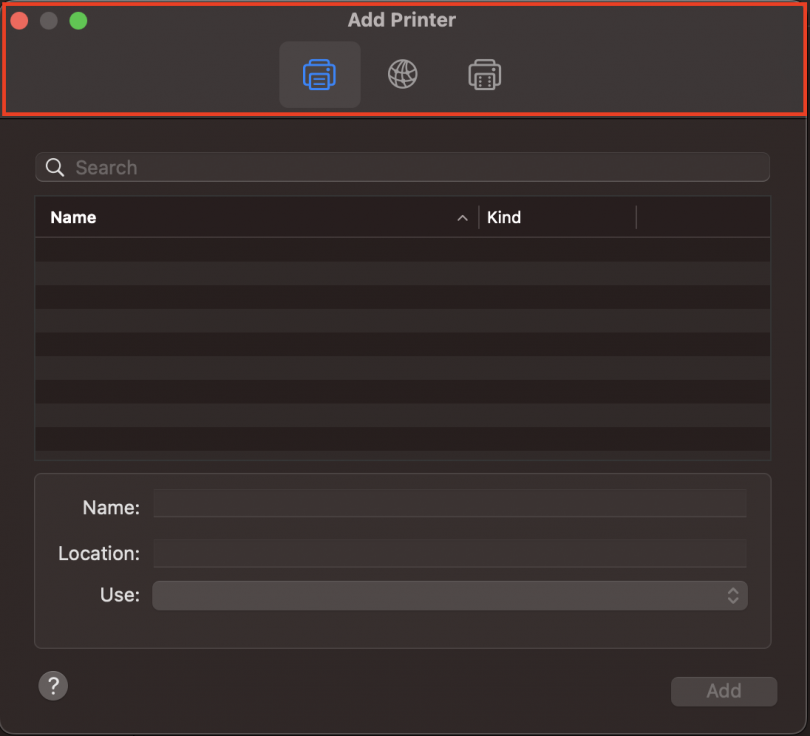
Right click in the top section of the "Add Printer" window and select "Customize toolbar".
4.
Drag the "Advanced" icon into your toolbar.
5.
Click on the newly added "Advanced" icon and let it load for a minute. Once the options come up. Ensure your settings are set to the image below.
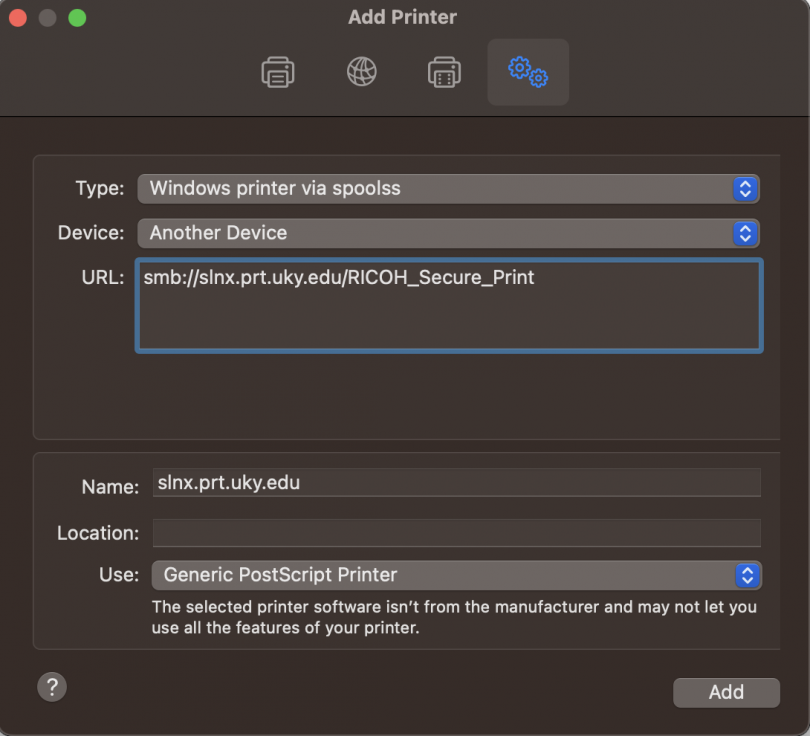
***IMPORTANT: If you are running MacOS Sonoma the URL above needs to be amended to smb://slnx.prt.uky.edu/RICOH_Secure_Print?encryption=no
6.
Add the printer and select "OK" in the next window that comes up.
7.
Open a document that you would like to print, and send the job to the newly added printer. You will be prompted for credentials, enter your linkblue credentials (do not include @uky.edu for the username) and ensure you choose to remember your information in keychain.
If the credentials page does not automatically come up, go to the printer queue and click reload on the print job.
